Video Guides
Getting Shiny Eggs
Getting Pefect IVs
Match Call Trainers by El Terapagos Mexicano
Written Guide
PokeNav
Setup
Pick Target
Get PID
Pick IVs
Get Stats
PokeNav
- Register as many trainers to the PokeNav as possible.
- Open the PokeNav Match Call feature and select all the trainers you registered in the tool below.
- Proceed to the next step.
Step 1: Prepare
- Optional, but highly recommended: Put a Pokemon with Lightning Rod and Flame Body in your party.
- Electrike with Lightning Rod is on Route 110, just South of Mauville.
- Slugma with Flame Body is in Fiery Path, just North of Mauville.
- Buy at least 3 normal repels from Verdanturf.
- Go to the Daycare and withdraw any Pokemon currently there.
- Stand in front of the top right edge of the white path on Route 118.
- Use the first repel.

Preview
Step 2: Deposit Pokemon
- Walk left until you're in front of the Daycare, then walk up until you're in front of the Daycare lady.
- Deposit your parent Pokemon into the Daycare.
- Exit the Daycare.
- Talk to the Daycare Man to get the egg compatibility and write it down for later.
Step 3: Get into position
- Walk to Verdanturf and run around.
- Use the second repel.
- Run around Verdanturf and use the third repel.
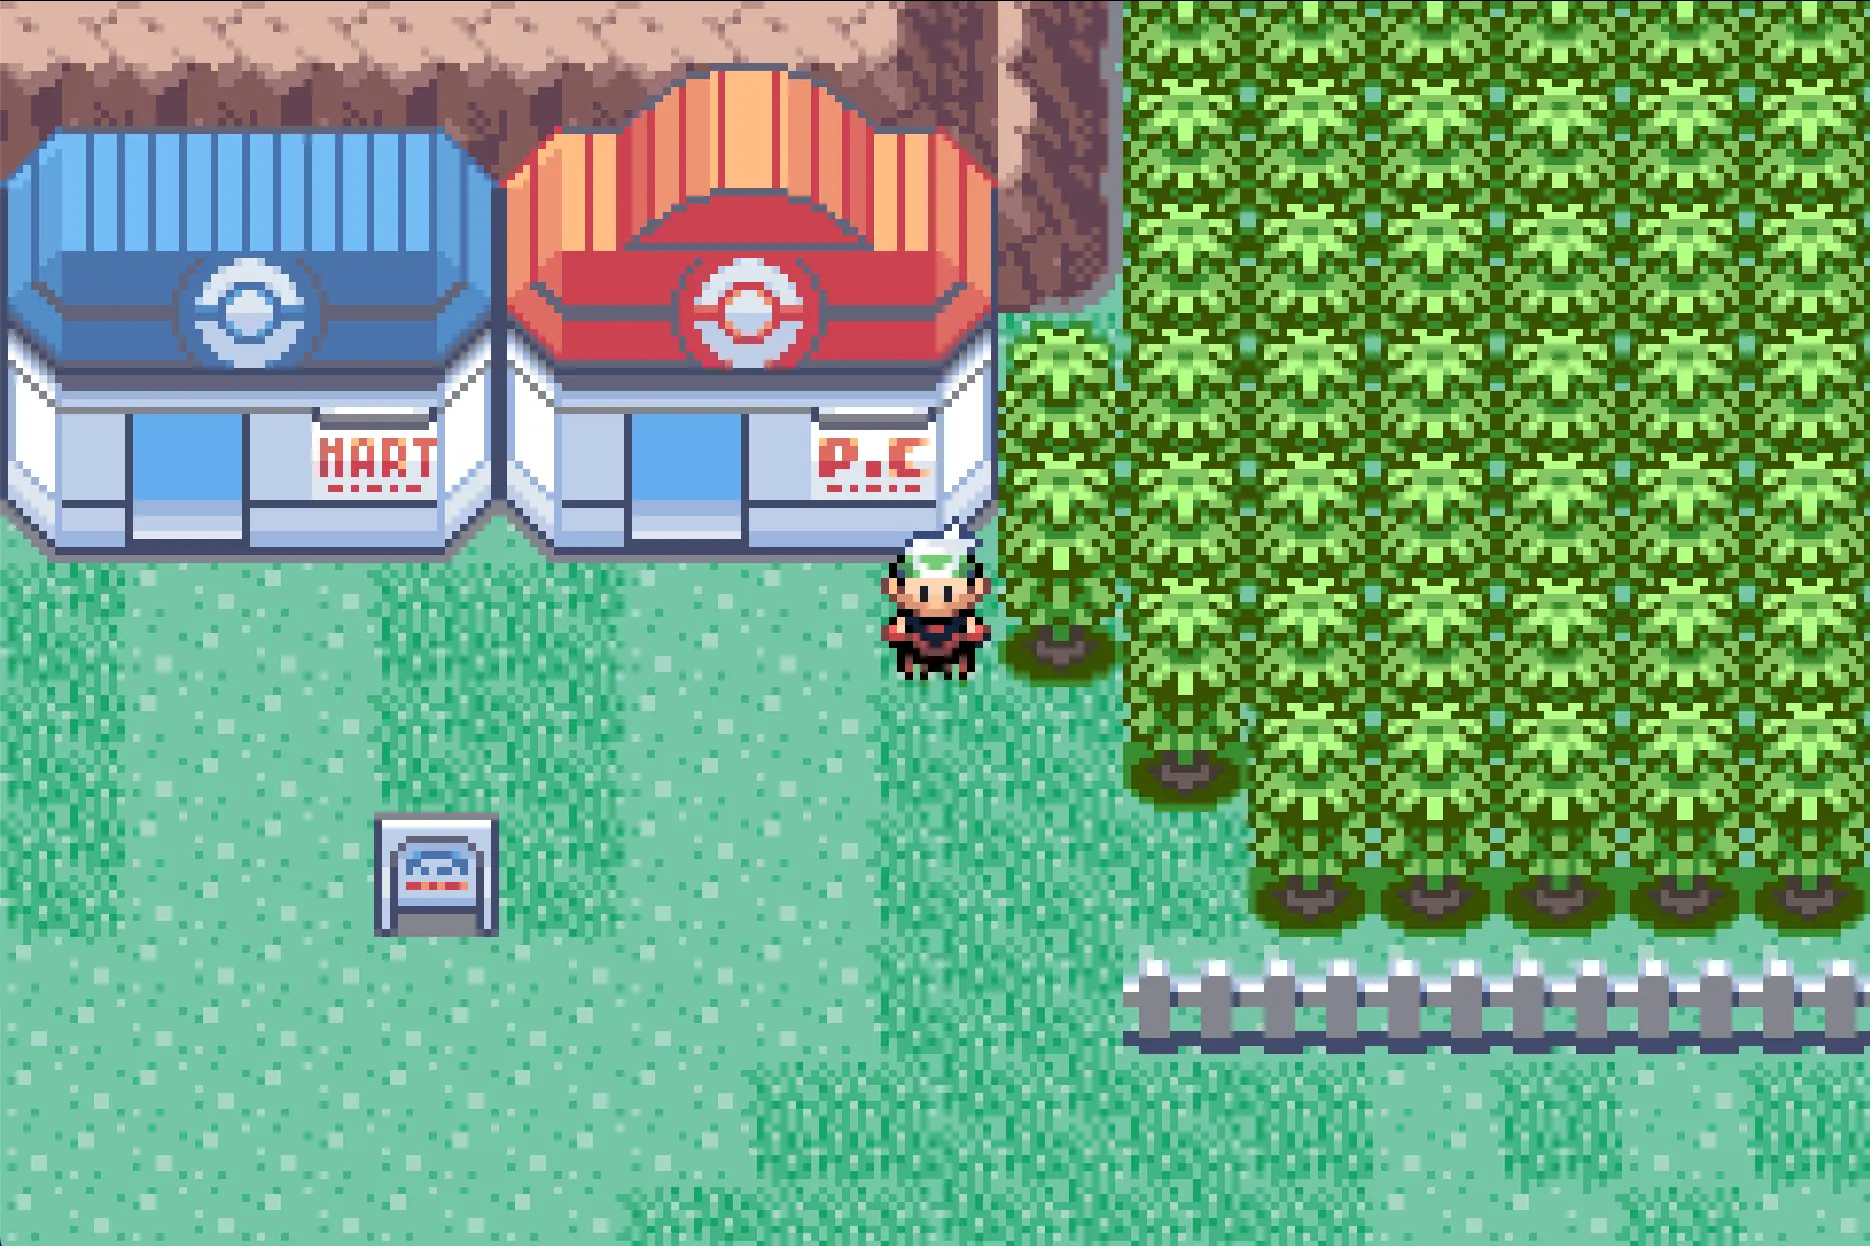
- Stand next to the tree closest to the PokeCenter (screenshot below).
- Walk back and forth on the two tiles in front of the PokeCenter until the repel wears off.
- Save the game and proceed to the next step.
Preview
Pick a Target
- Enter your egg details in the tool below and press "Generate".
- Press "Select" on the target Pokemon you want to hatch.
Step 1: RNGing the PID
- Make sure the Lightning Rod Pokemon is in the front of your party and save.
- Start the timer below.
- When first timer goes off, soft reset your game and load your save as fast as possible.
- Walk back and forth on the two tiles in front of the PokeCenter for 9 steps.
- Open the PokeDex however many times the tool below says.
- Take 1 step on the same two tiles when the timer goes off.
- If you received a PokeNav call that matches your expected call and the Daycare man has an egg, save the game. If not, scroll down to the "Calibrate" section.
Step 2: Calibrate
- Pick up your egg from the daycare man and hatch it. If it's shiny, proceed to the next step.
- If the egg wasn't shiny, fill in the tool below with the match call and egg nature.
- Press "Find advances matching eggs" to view a list of possible eggs.
- Press "Calibrate" on the egg with the offset closest to 0 to adjust the timer.
- Restart the PID RNG process.
Picking IVs
- Fill in the tool below and press "Generate" to get a list of possible IVs.
- Press "Select" on the target Pokemon you want to hatch.
| Select | Time | Method | HP | Atk | Def | SpA | SpD | Spe | Advance |
|---|---|---|---|---|---|---|---|---|---|
No data | |||||||||
Step 1: RNGing the IVs
- Stand next to the Daycare man and save.
- Start the timer below.
- When the first timer goes off, soft reset your game, load your save, and talk to the Daycare man as fast as possible.
- Continue the dialogue until you see the text "Take good care of it".
- When the second timer goes off, press A to receive the egg.
- Hatch the egg.
Step 2: Calibrate
- Enter the stats in the tool below and press "Find advances matching hatched egg".
- If the result with offset 0 matches your target stats and method, congratulations! You got your egg!
- If the result with offset 0 doesn't match your target method, try again without calibrating.
- If there is not a result with offset 0, click "Calibrate" on the result with the offset closest to 0 to adjust the timer.
- Restart the IV RNG process.
Target Method:
Target Stats: Unknown
Target IVs:
| Calibrate | Offset | Method | HP | Atk | Def | SpA | SpD | Spe |
|---|---|---|---|---|---|---|---|---|
No data | ||||||||
Credits
- Zaksabeast for writing this web tool.
- Lincoln for the PokeNav tool, which this tool is based on.
- Thanks to all PokeFinder contributors, which this tool is based on.
- El Terapagos Mexicano, jafet0022, and everyone who contributed to this Discord thread, which is filled with lots of retail Emerald egg research and info.
- Chinese translation: xuanyelin, Hakuhiro.
- German translation: Parasite on Discord.